Small Projects
Arduino, 3D printing and self-taught electronics · 2023 – 2024
Before the go-kart and the race team, there was a pile of small builds on a desk. I taught myself electronics and robotics from the ground up here — starting with an LED and a button, working up to a 3D-printed car that paths around obstacles on its own. Each one is small, but the progression is the point: every version failed at something specific, and the next one fixed it.
Obstacle-Avoiding RC Car — v3
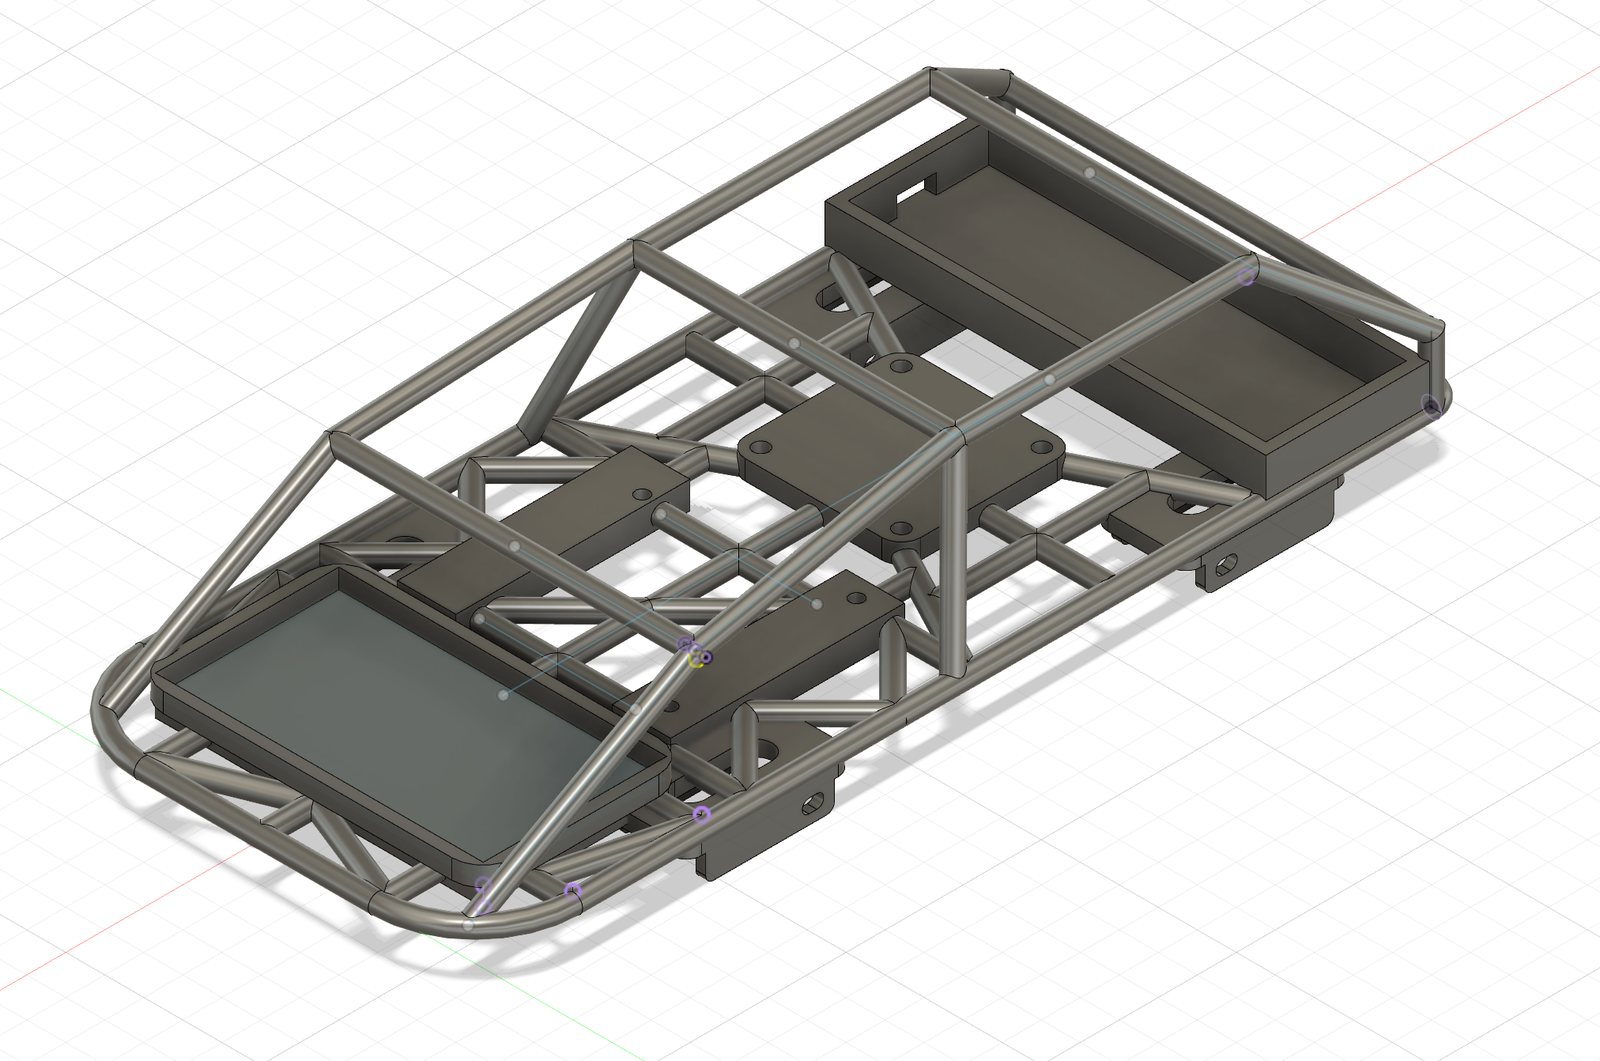
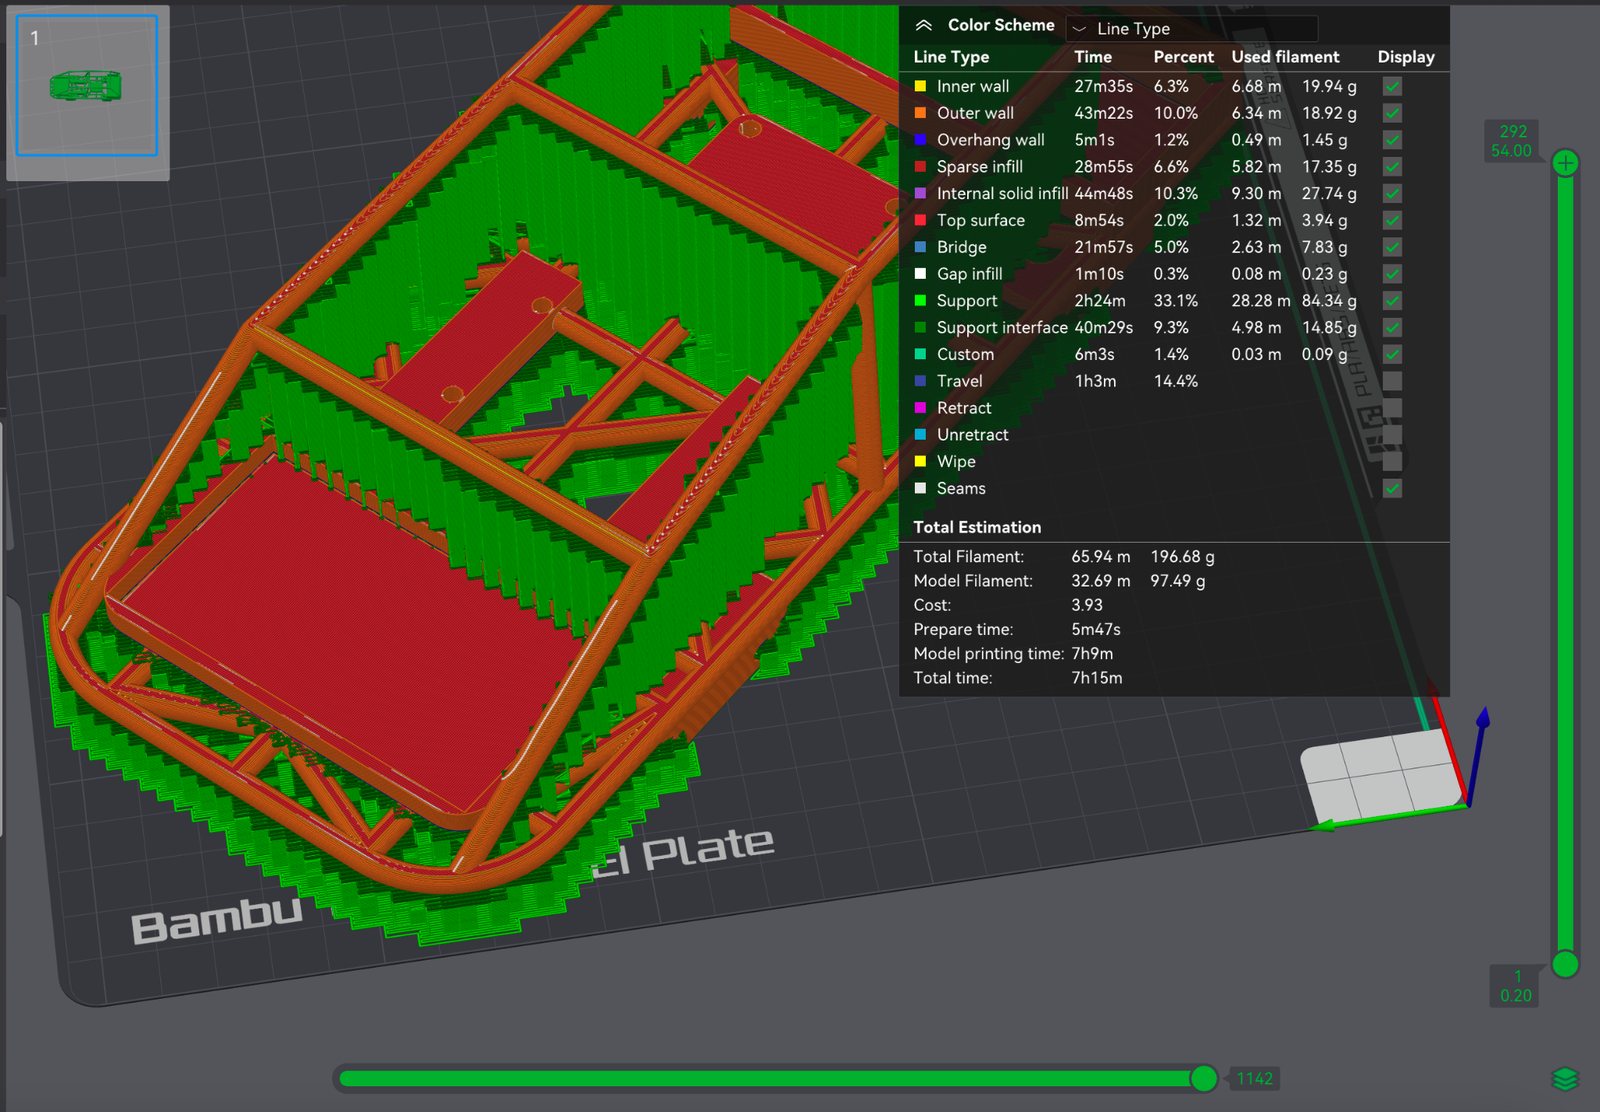
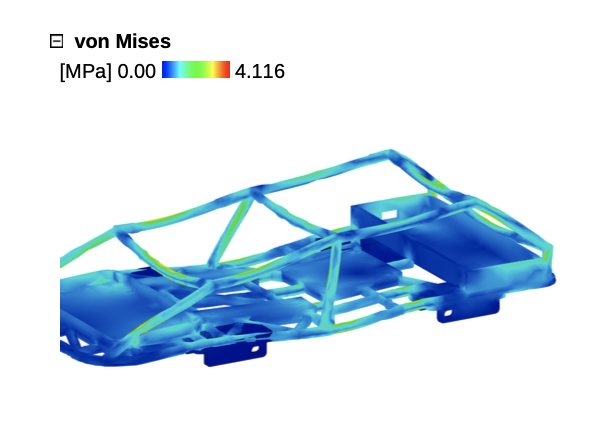
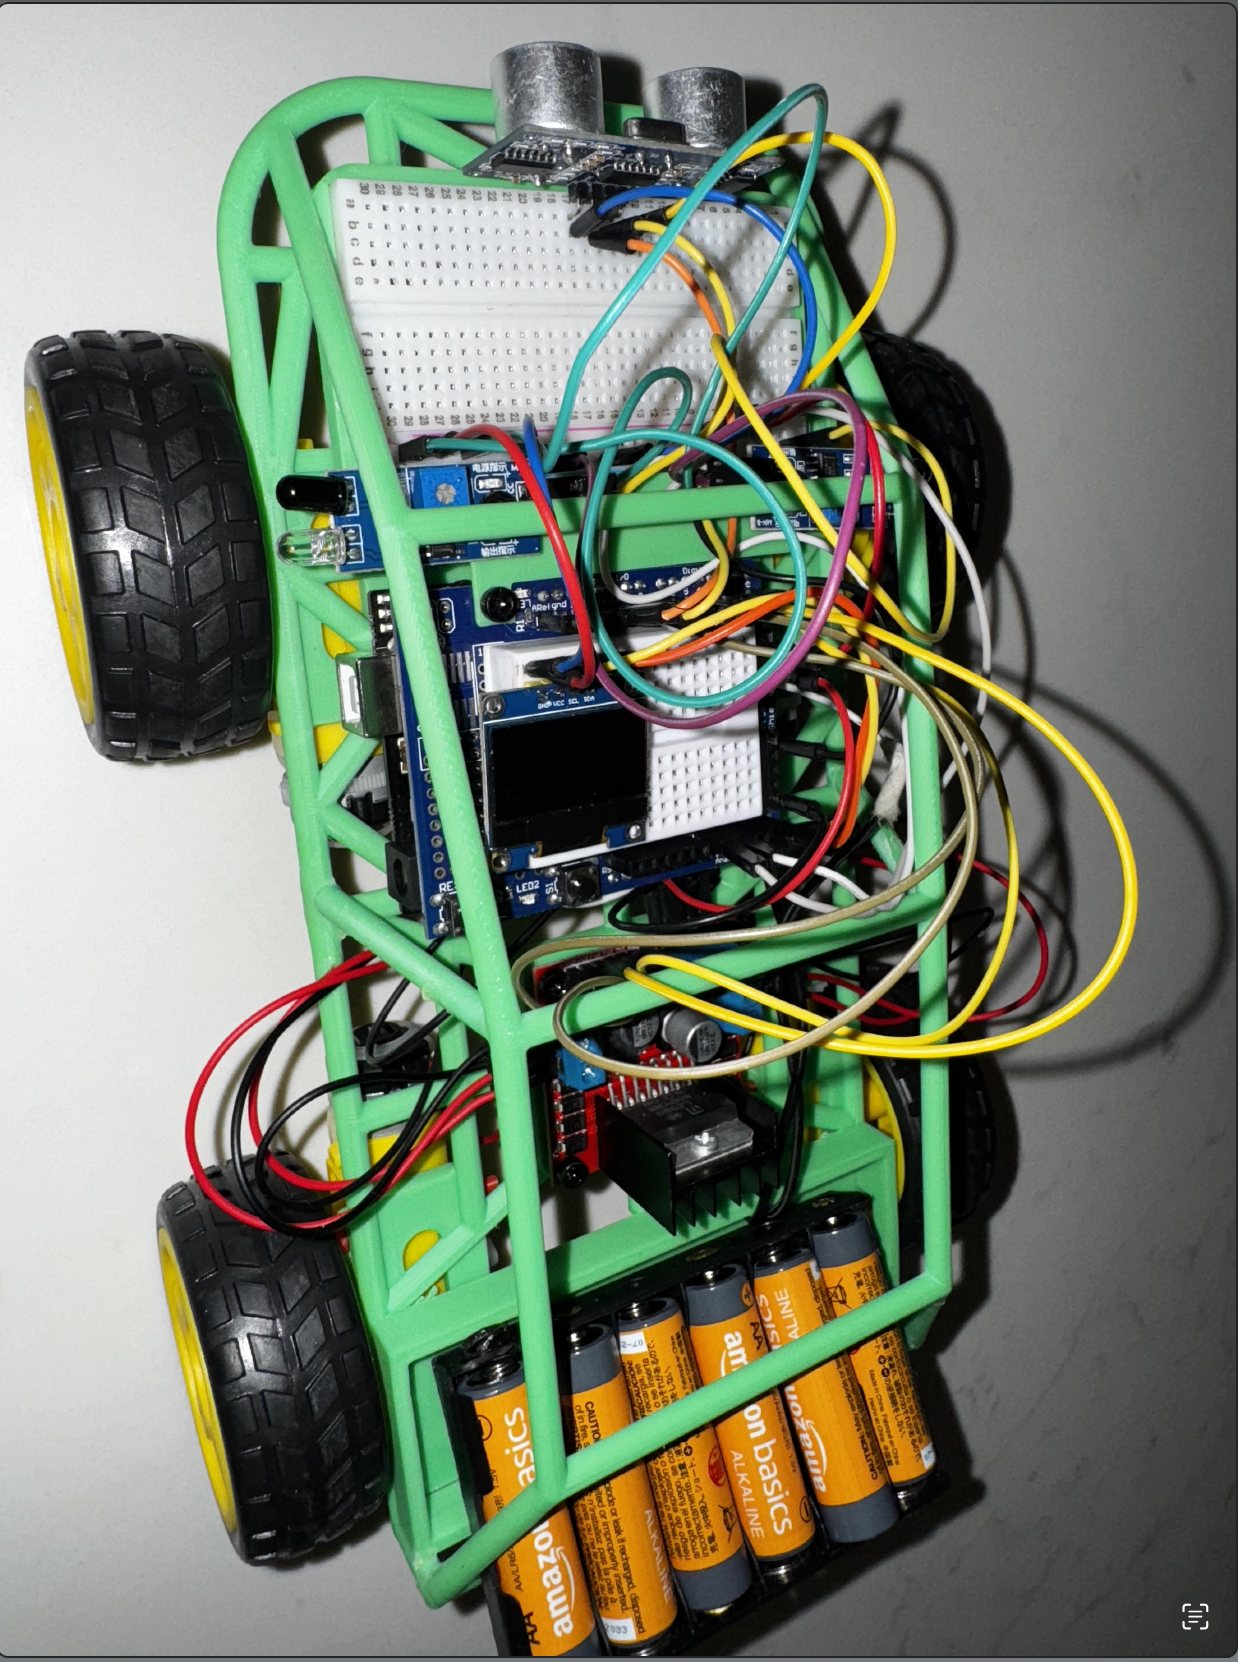
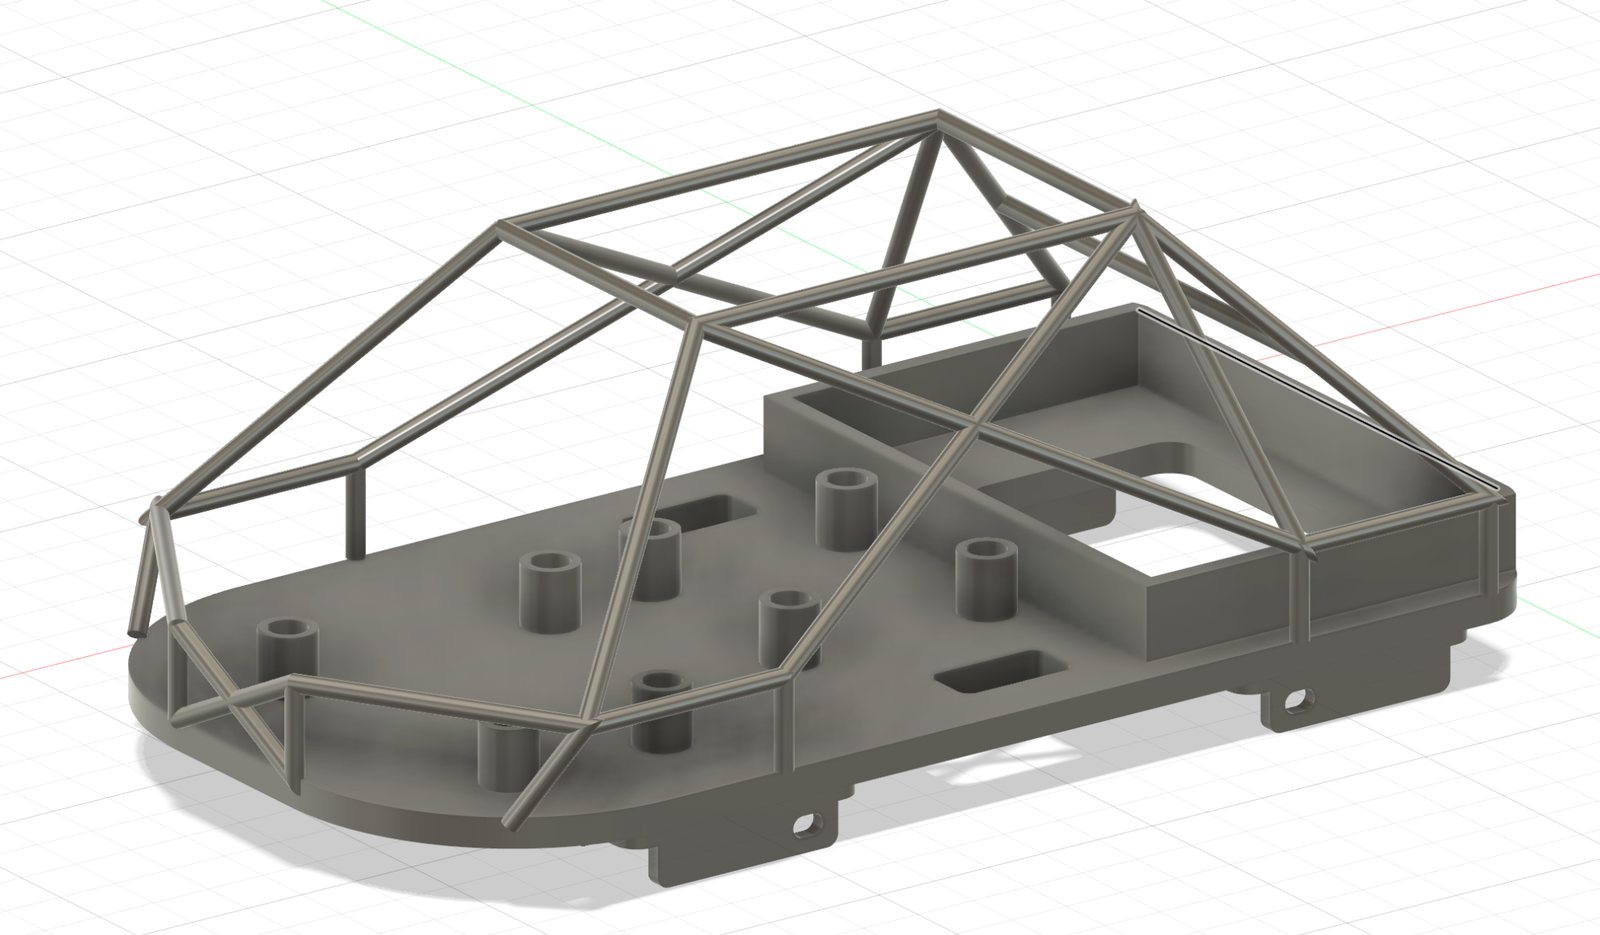
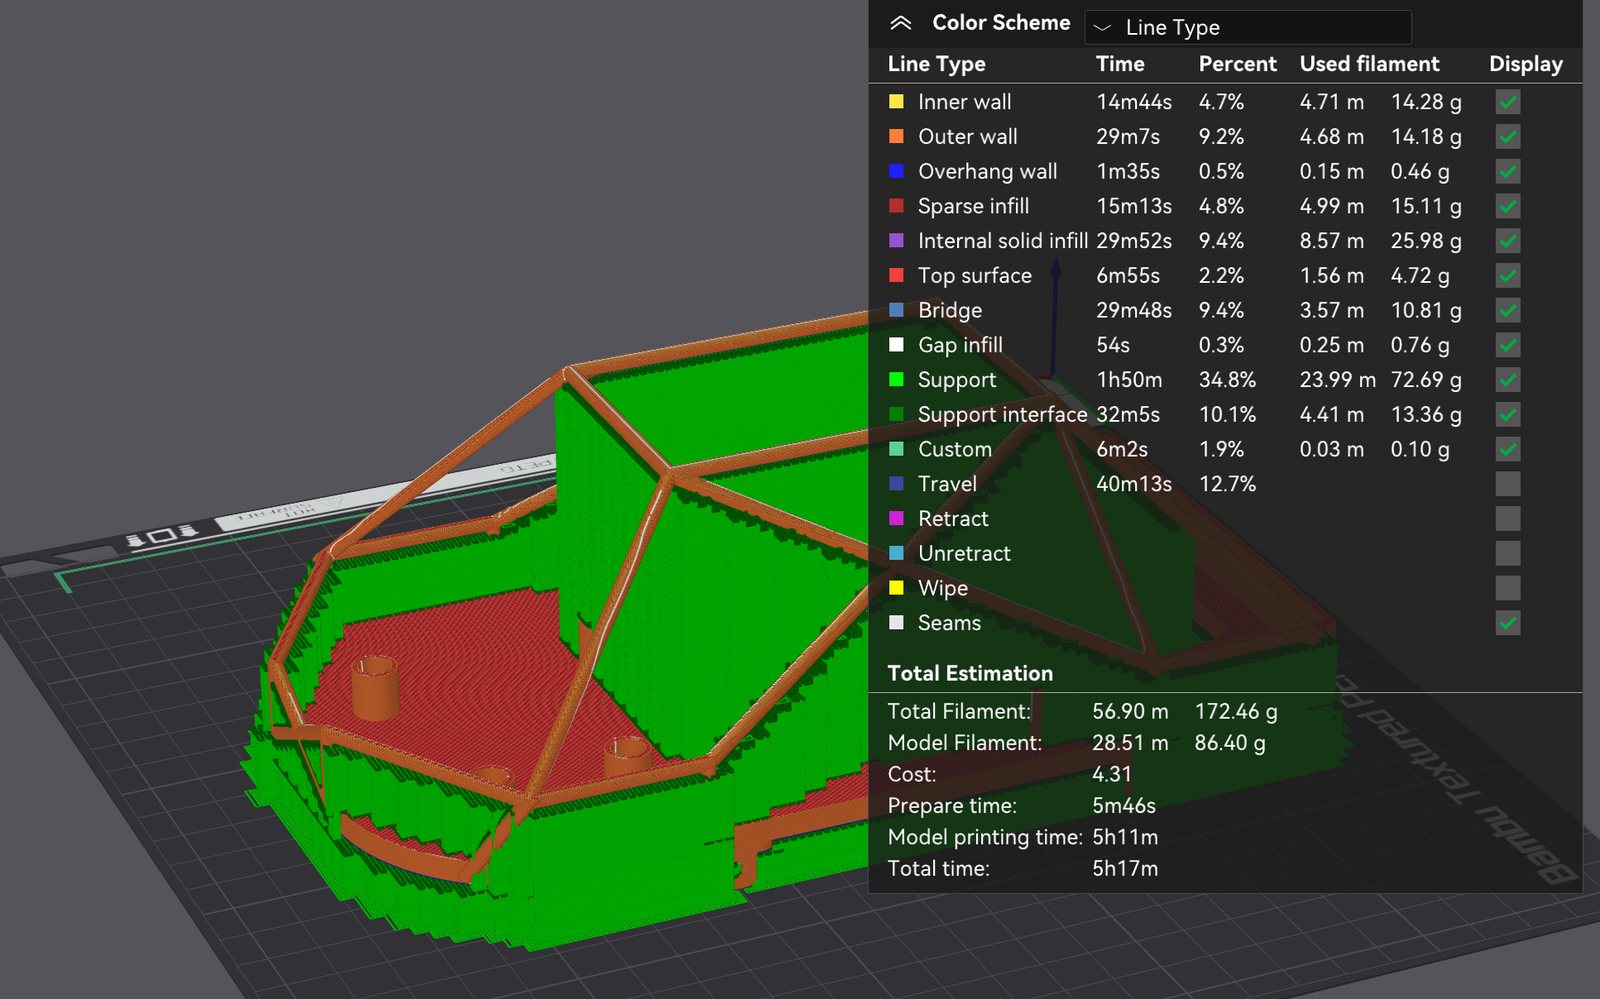
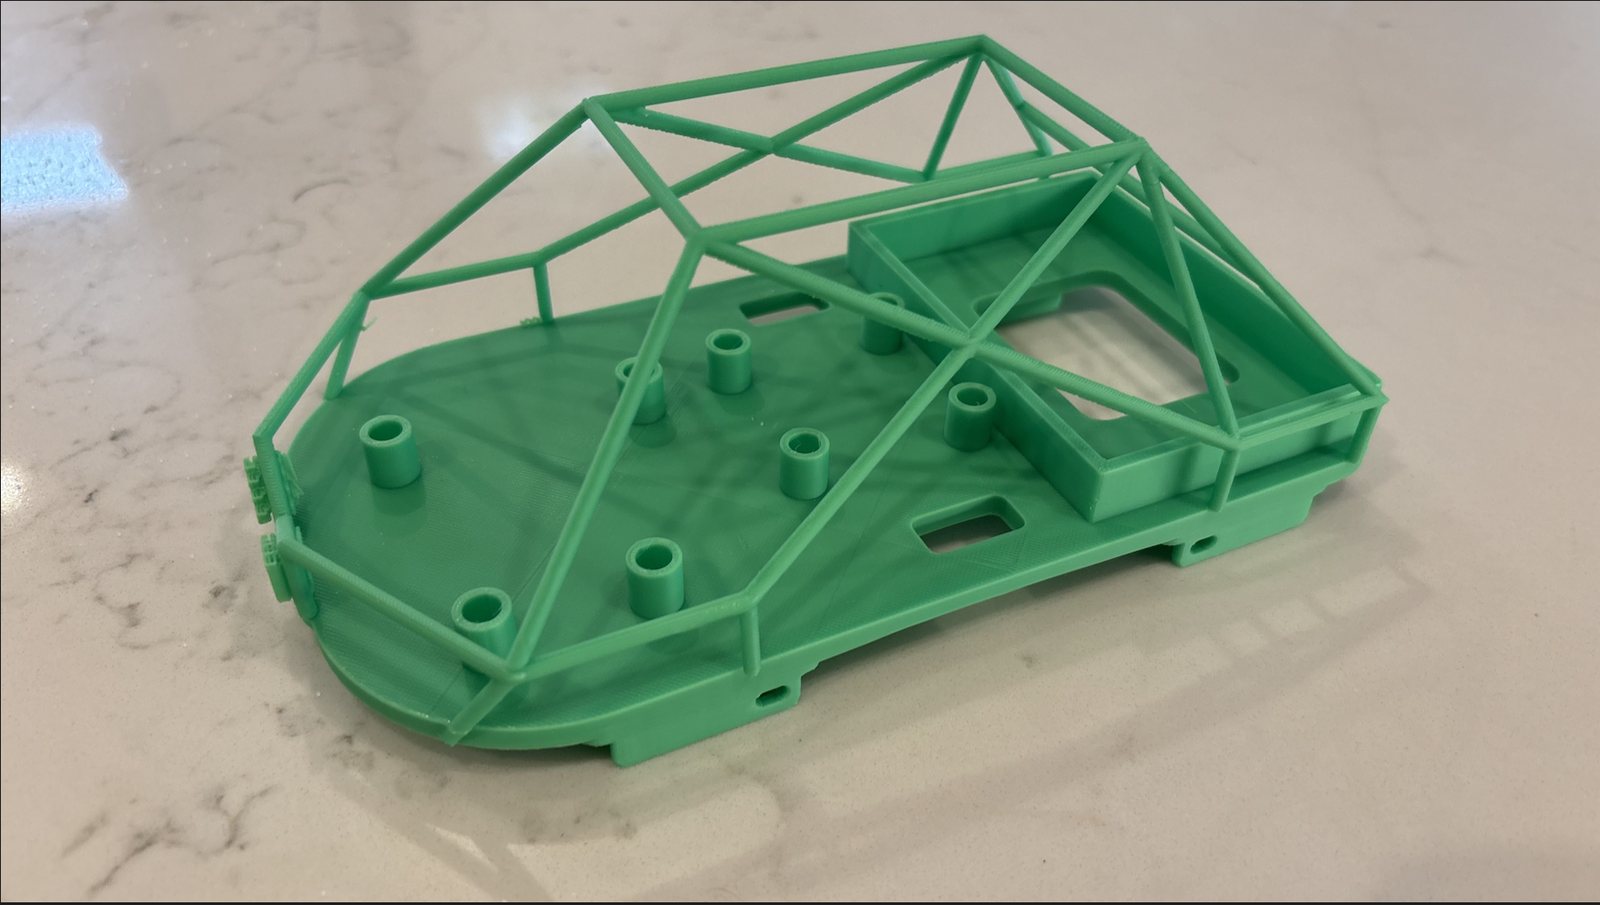
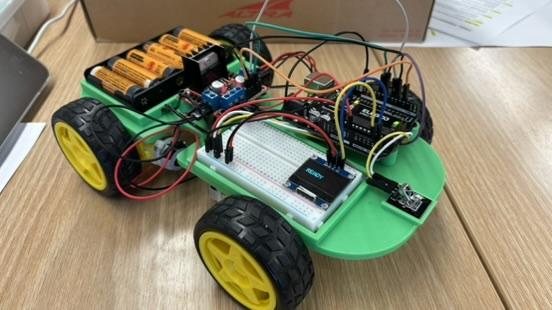
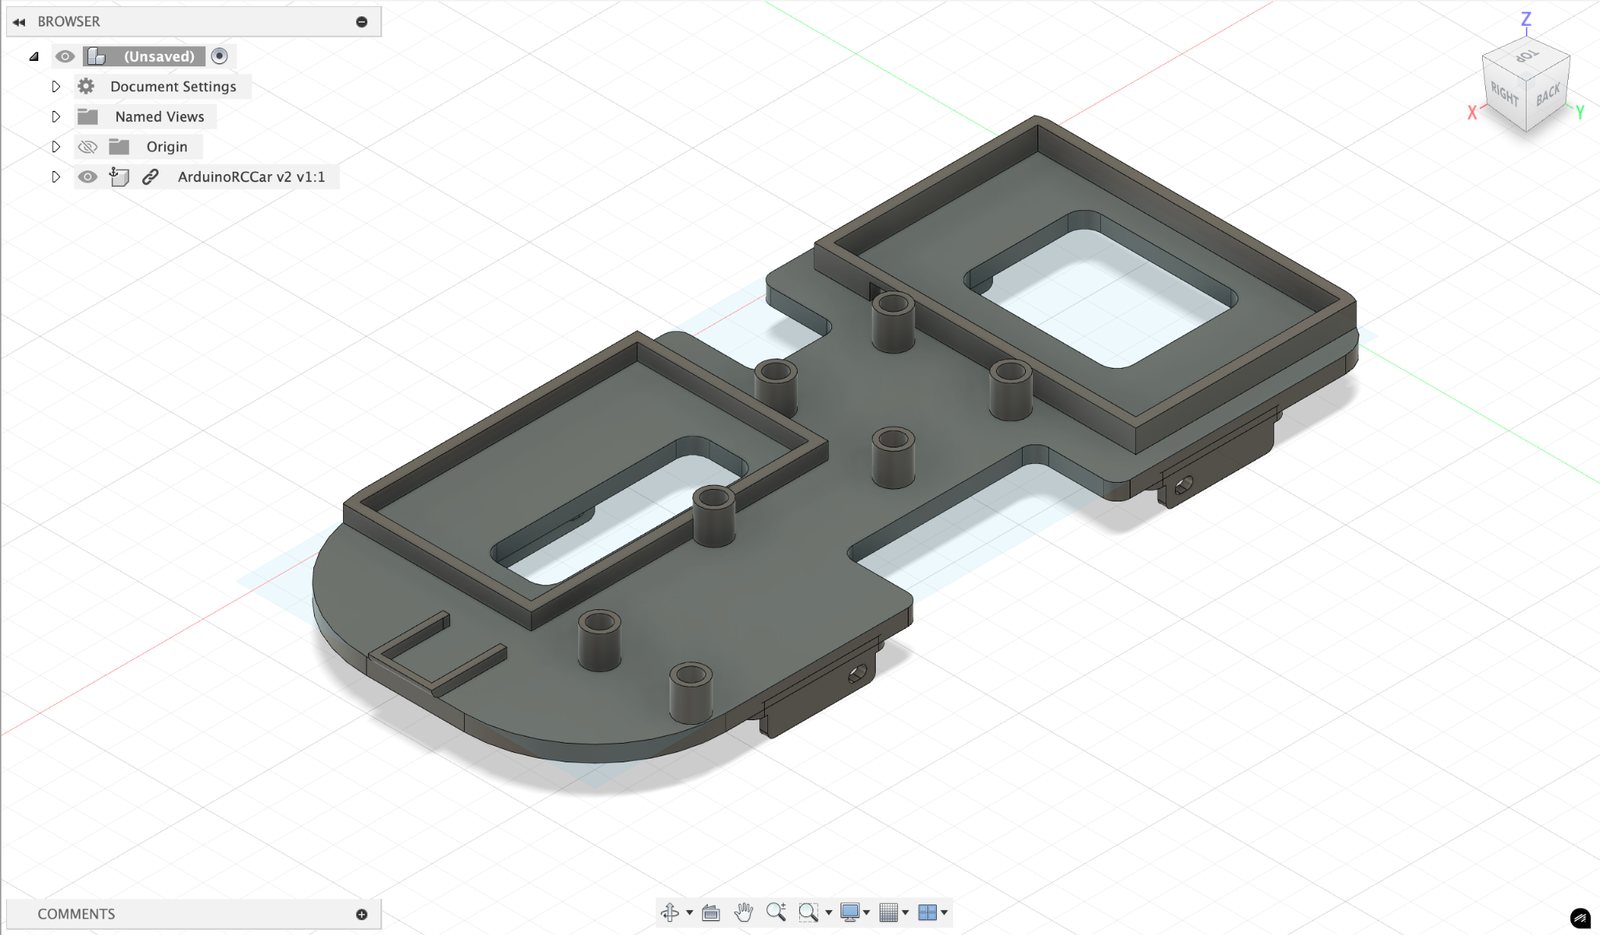
The third version of a 3D-printed RC car I designed from scratch: a stronger roll cage on a tube-style frame to cut material cost, a front ultrasonic sensor and side IR sensors so the car paths around obstacles autonomously, and an OLED showing live sensor readings and the direction decision. Chassis designed in Autodesk Fusion and printed on a Bambu printer.
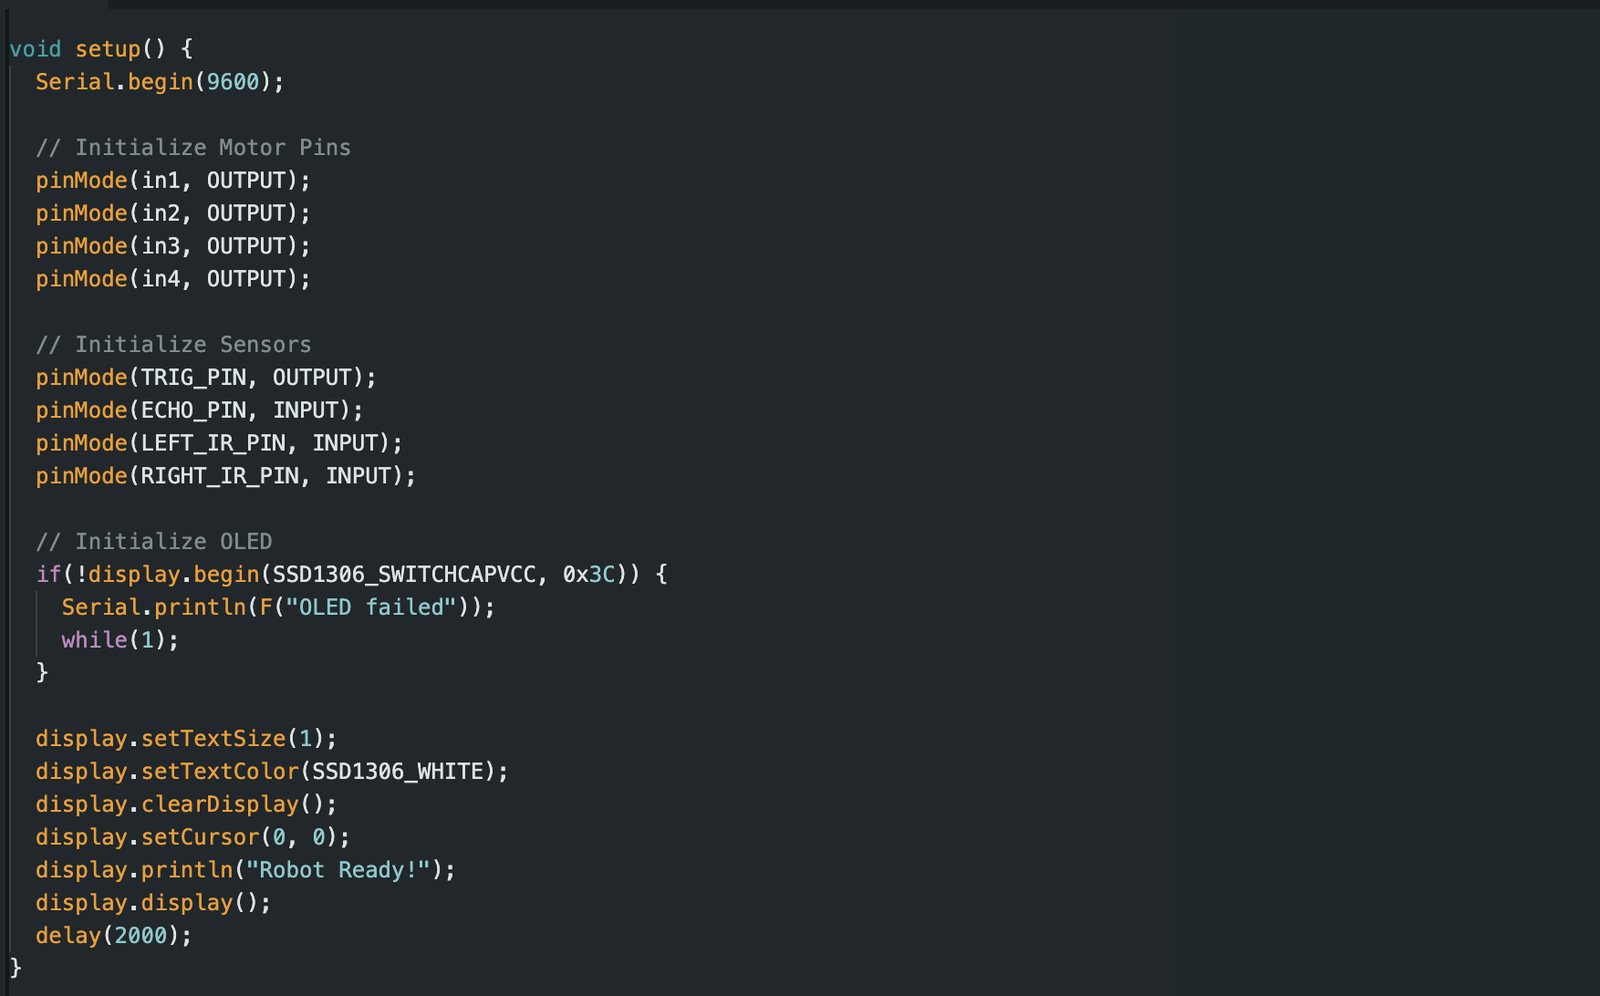
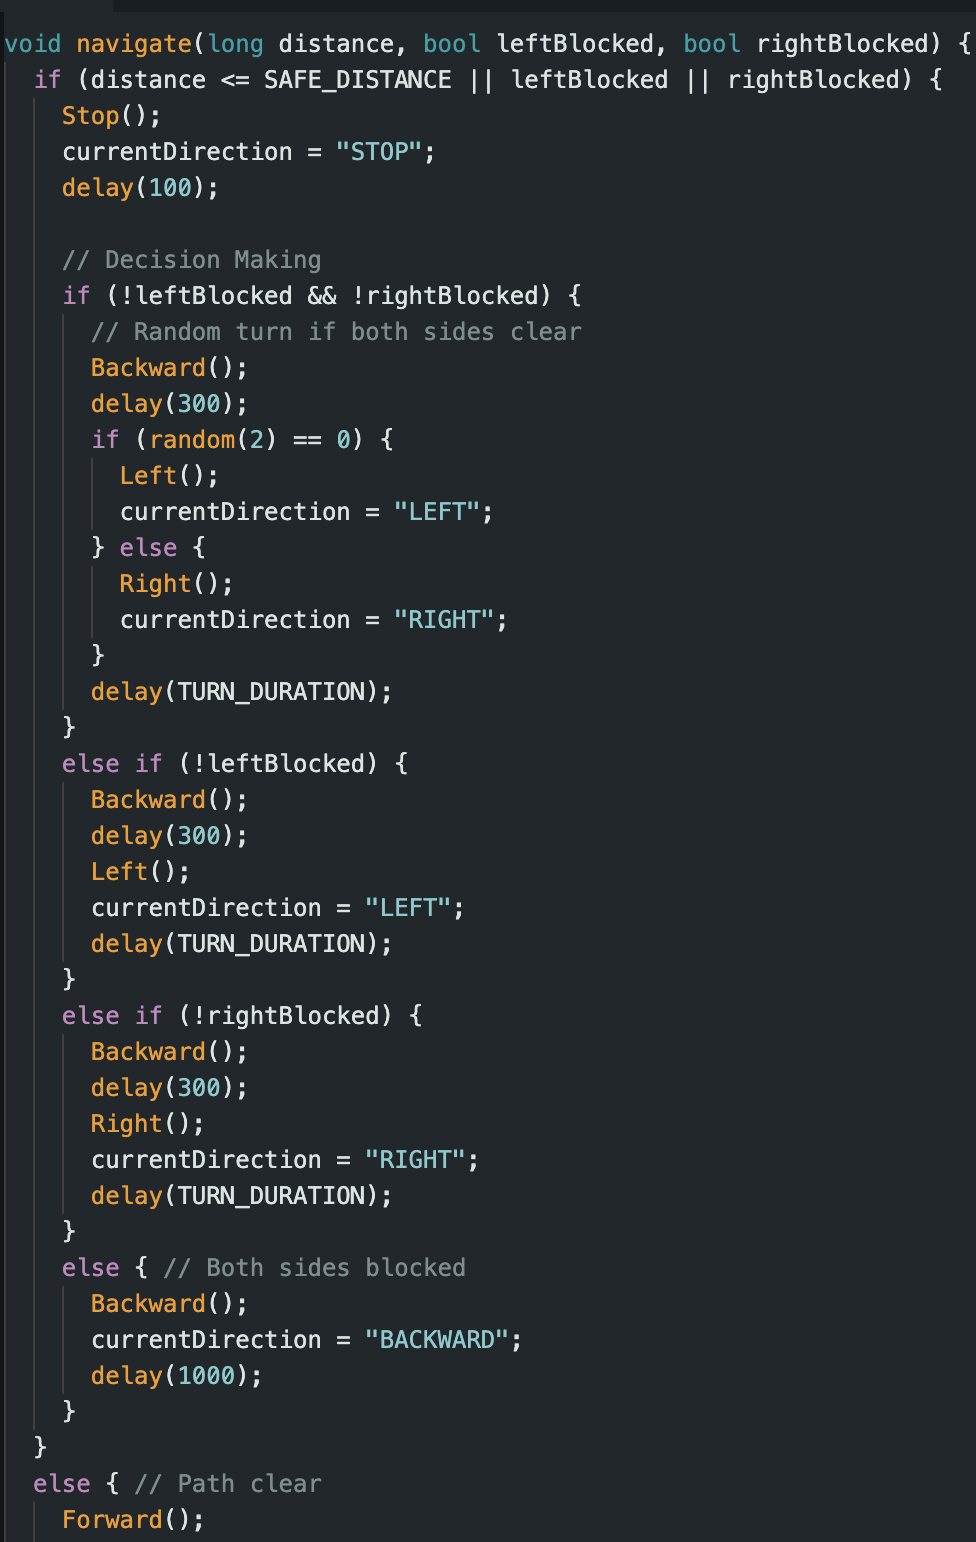
v3 — Avoidance Logic
Sensors → check distance / IR → decision → motor action → repeat. Moves forward if the path is clear, stops and turns if an obstacle is near, and picks the clearest side. Detection range (15–30 cm) and turn speed are quick tweaks. Result: a strong roll cage and excellent obstacle avoidance, with fine tuning and rechargeable batteries next.
v2 — Roll Cage
Added a roll cage and condensed the chassis to lower material cost. Result: the cage was too weak and the body too narrow to fit the circuits inside — both fixed in v3.
v1 — Custom Chassis + OLED
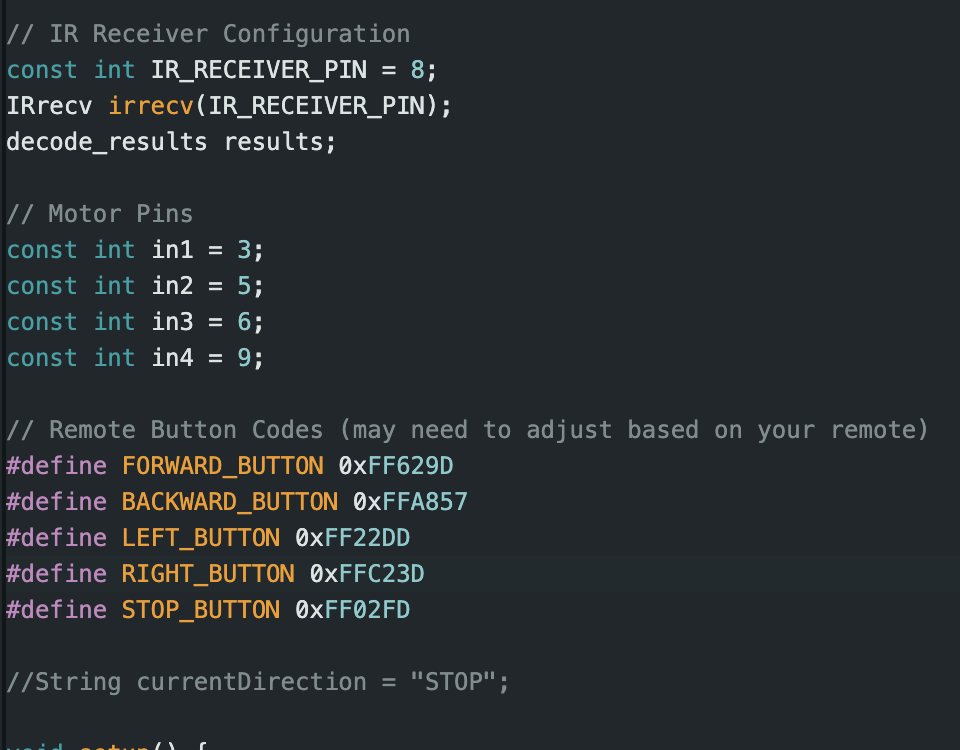
Redesigned the chassis for a better circuit layout, and added an OLED that shows the last direction command from the IR remote. It worked (with a weak IR signal) until an accidental 3 ft drop damaged the circuits.
v0 — First Attempt & CAD Workshop
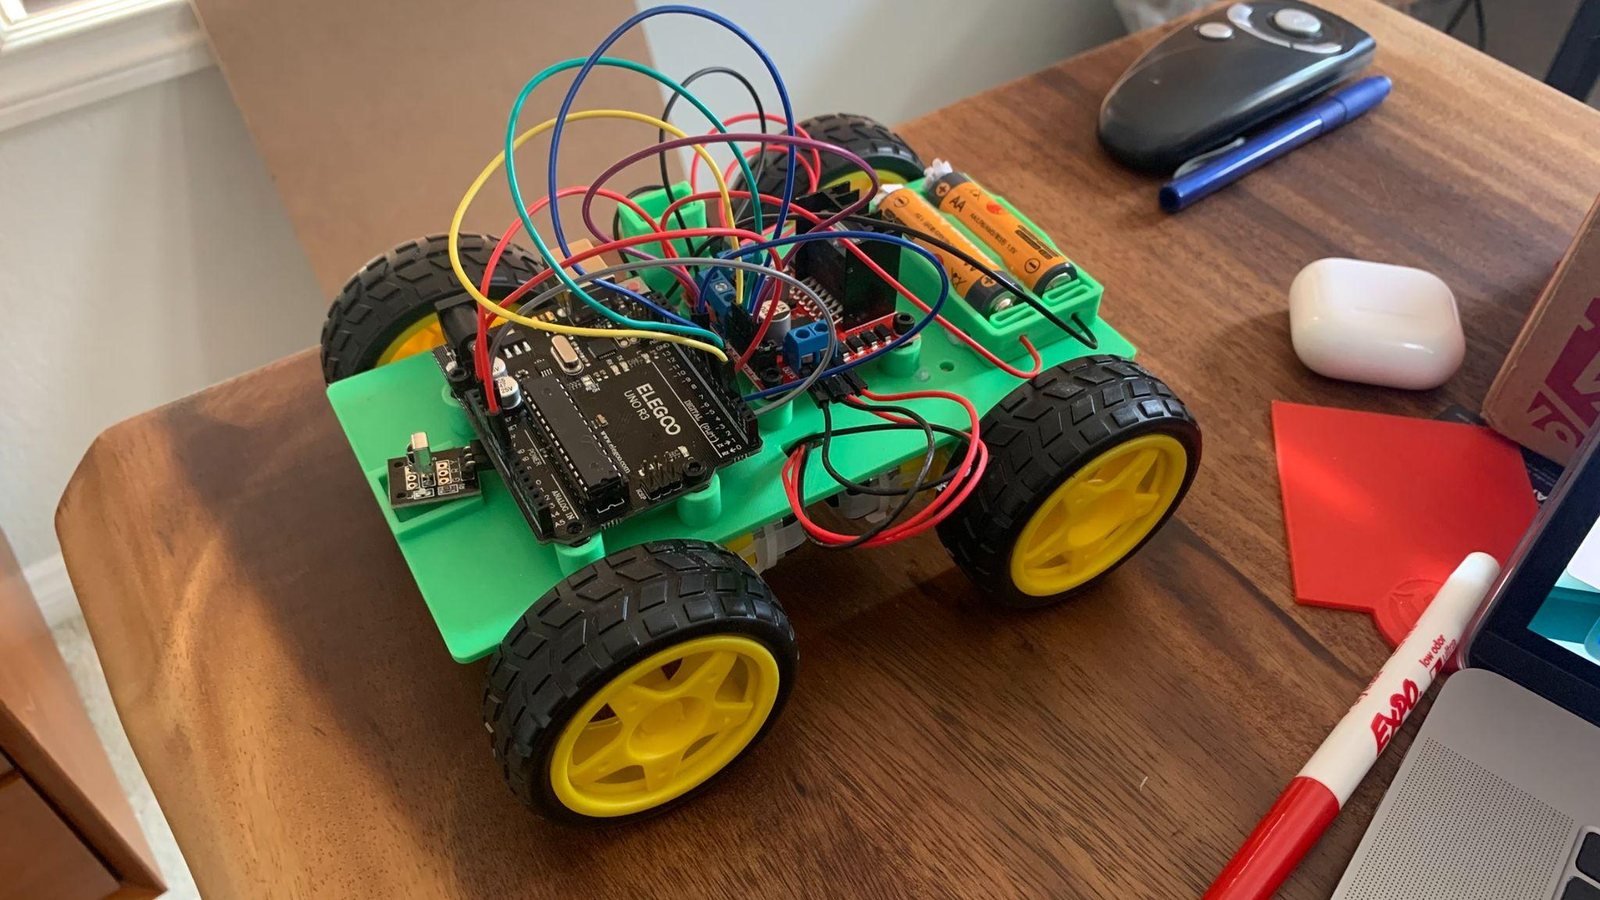
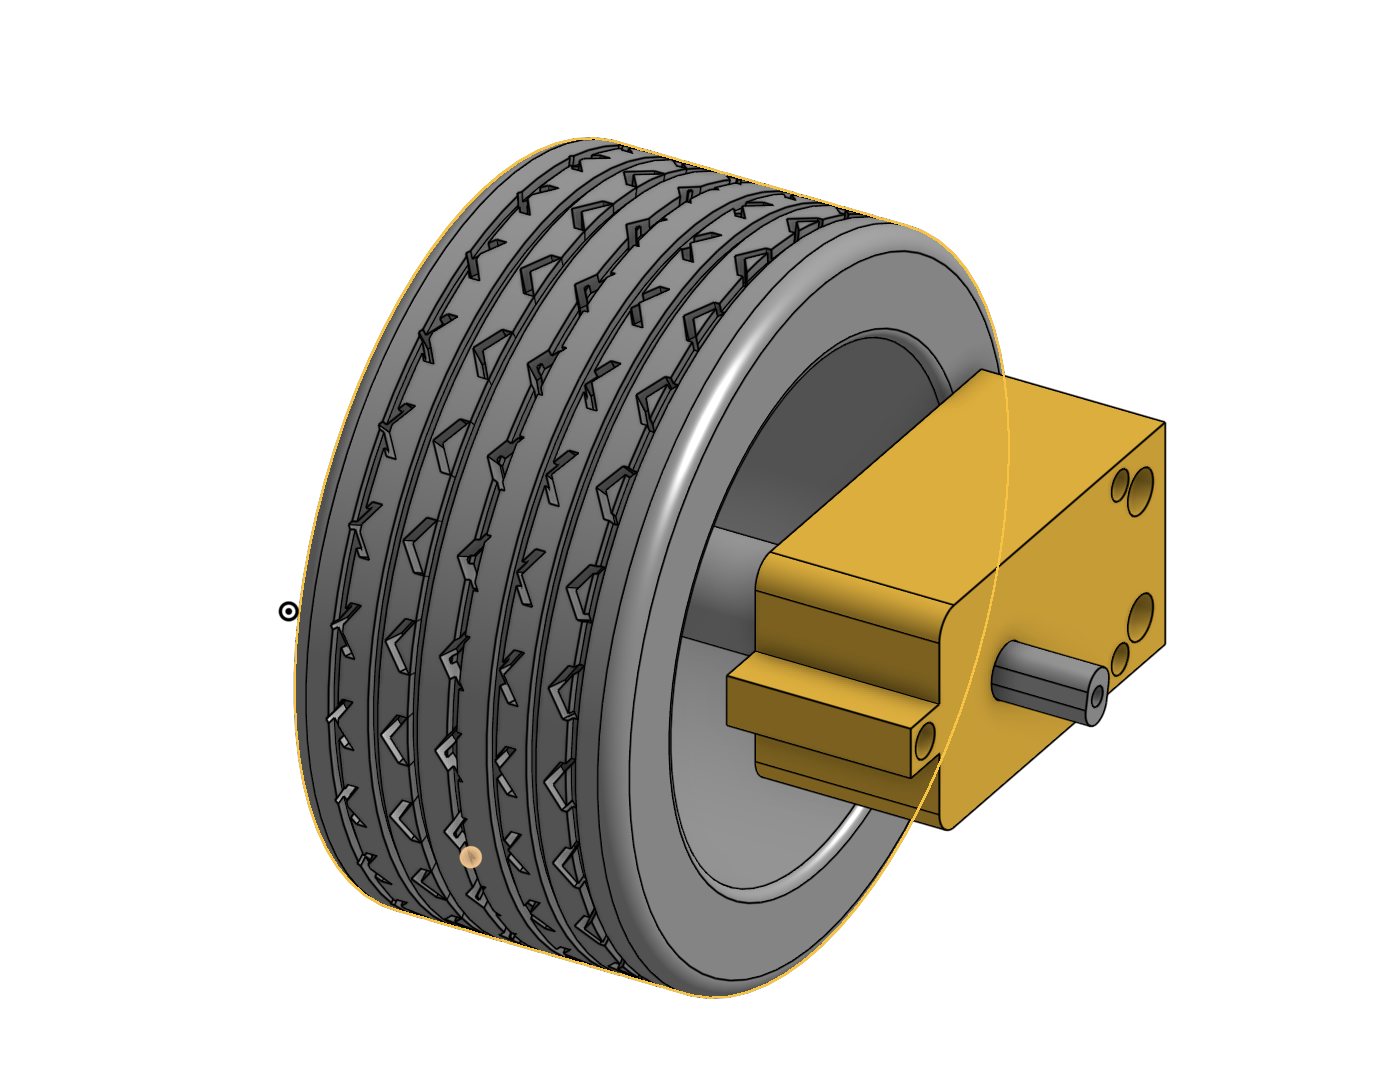
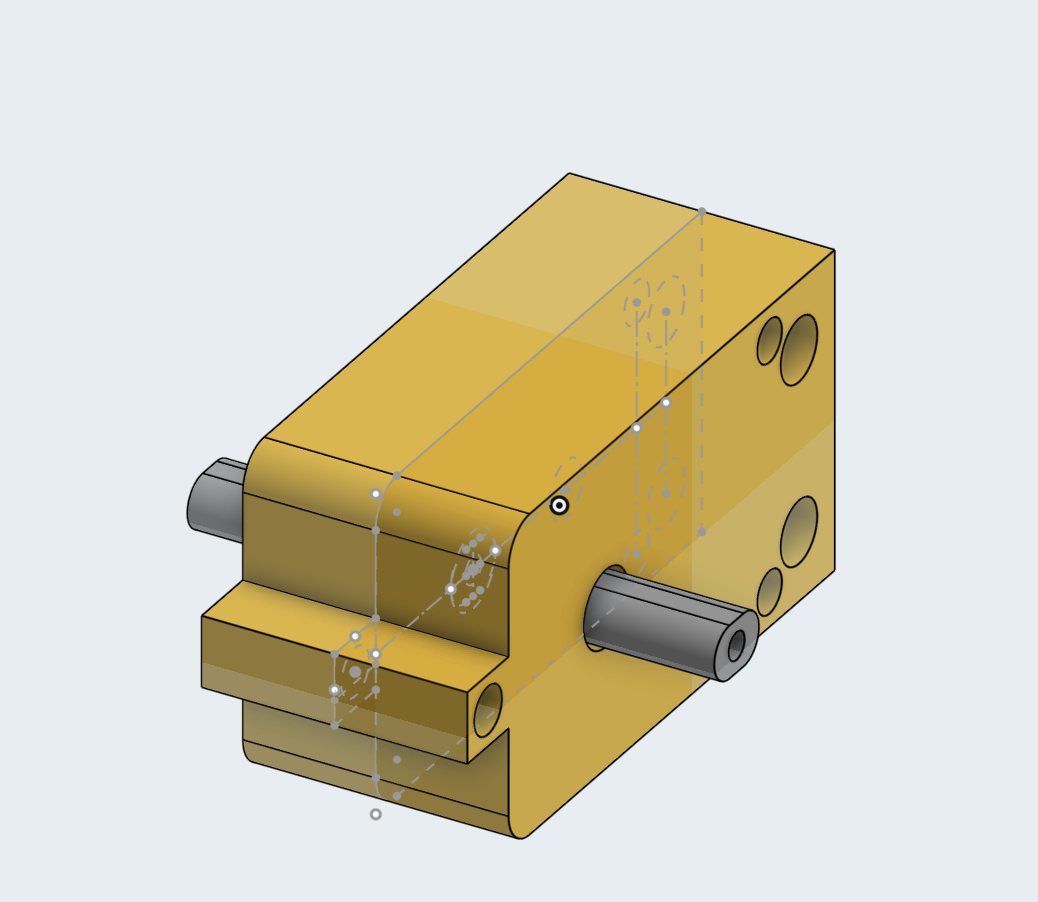
A tutorial-sourced 3D-printed chassis with self-designed motor mounts. Didn't work — circuit error and insufficient power — but it started everything. A CAD workshop along the way covered sketching and extruding, measuring real parts with calipers, and building a rotating DC-motor wheel assembly.
Handheld Distance Finder
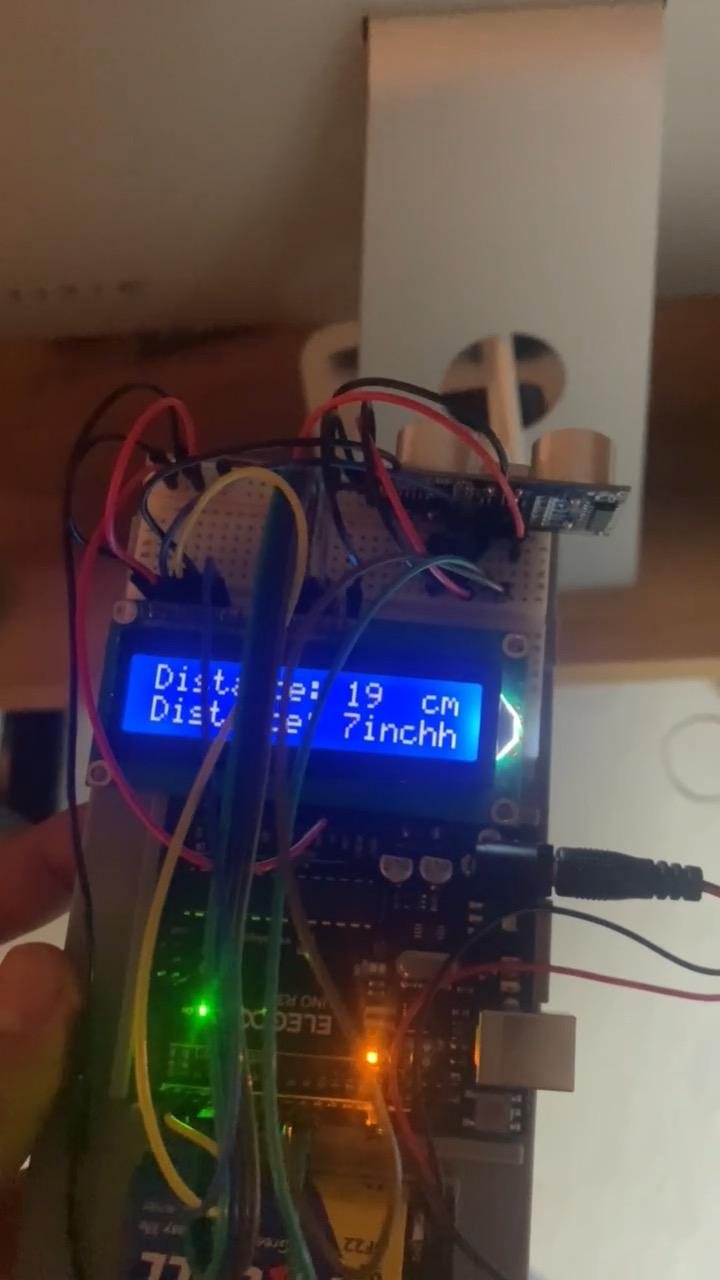
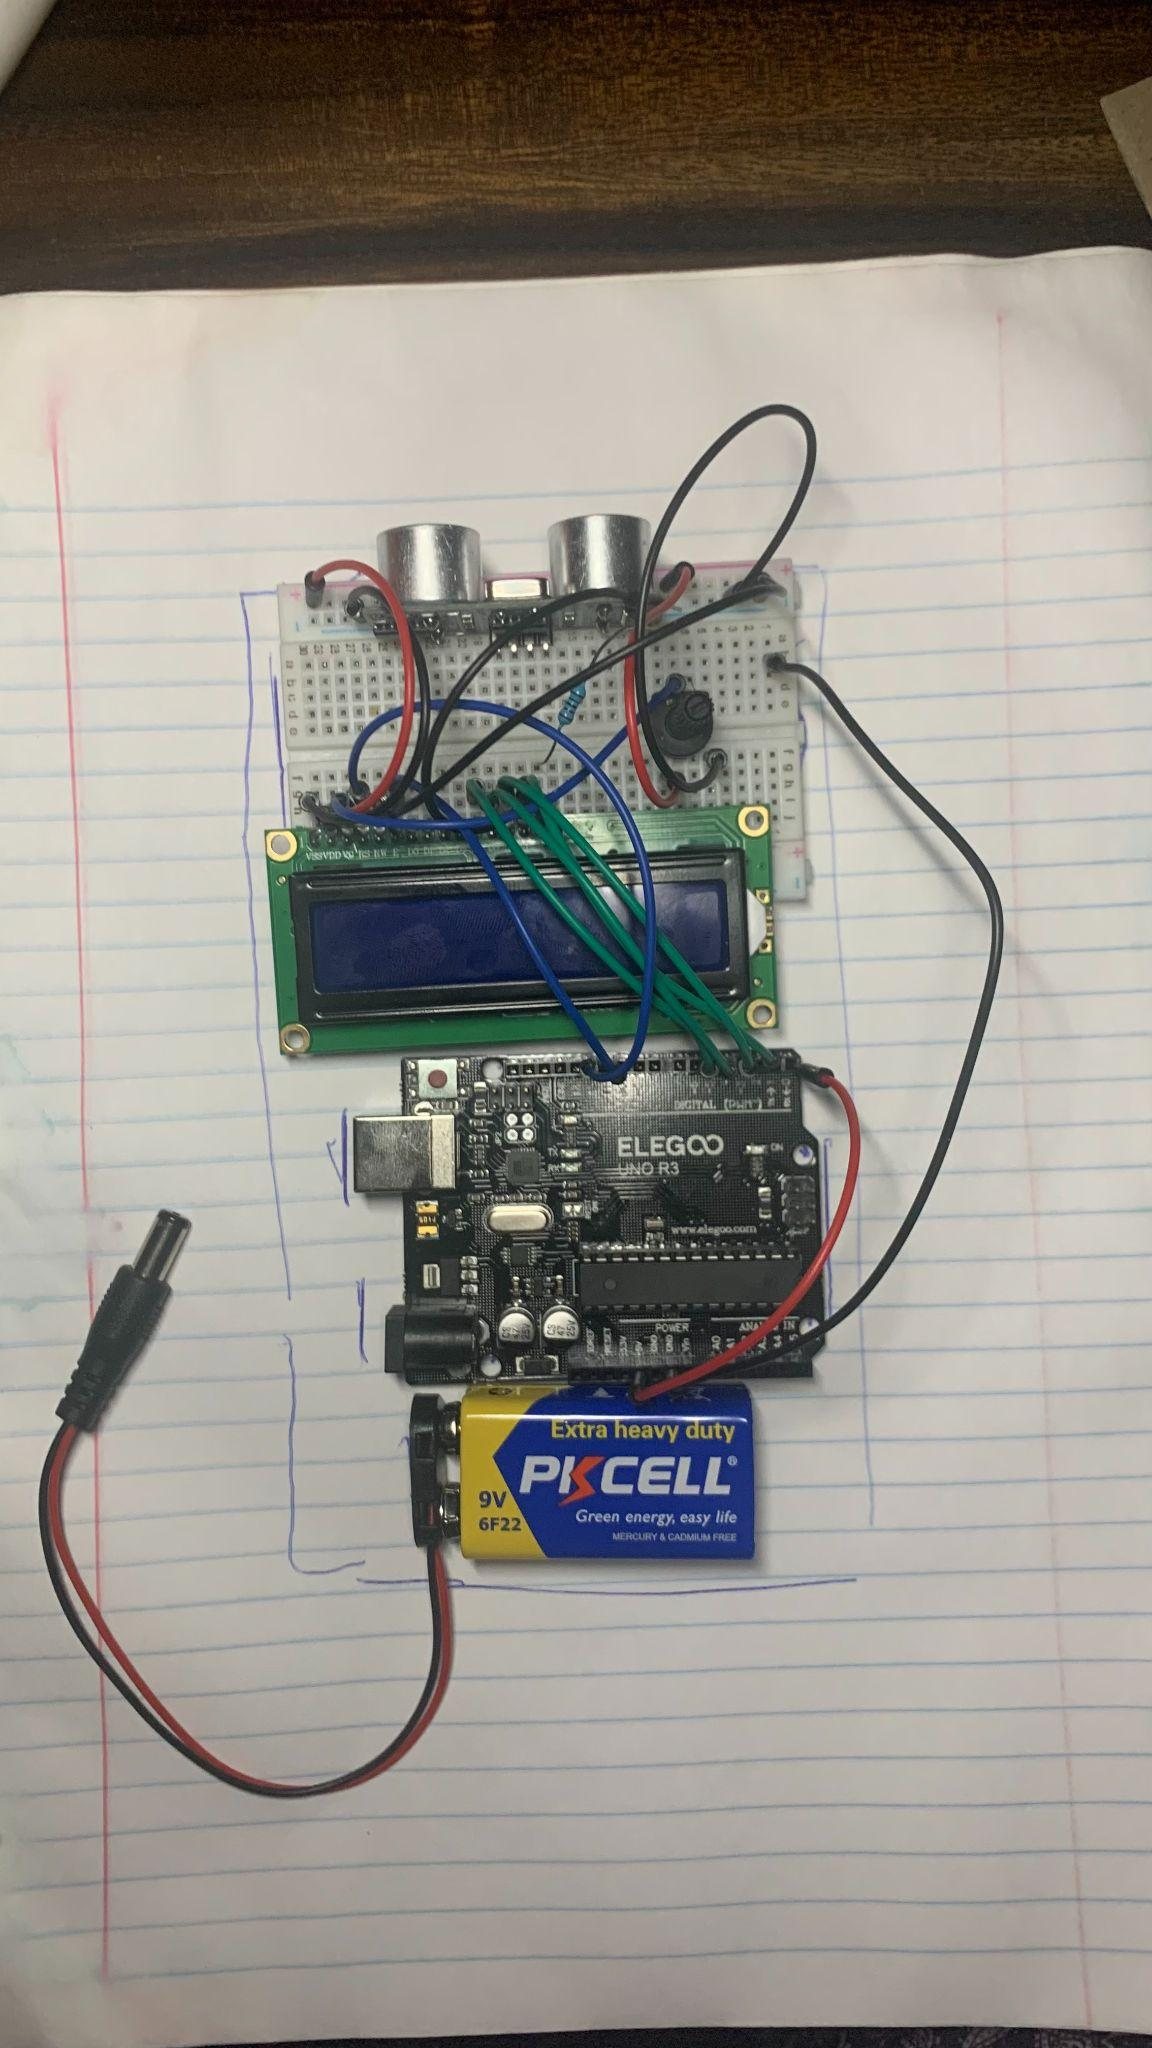
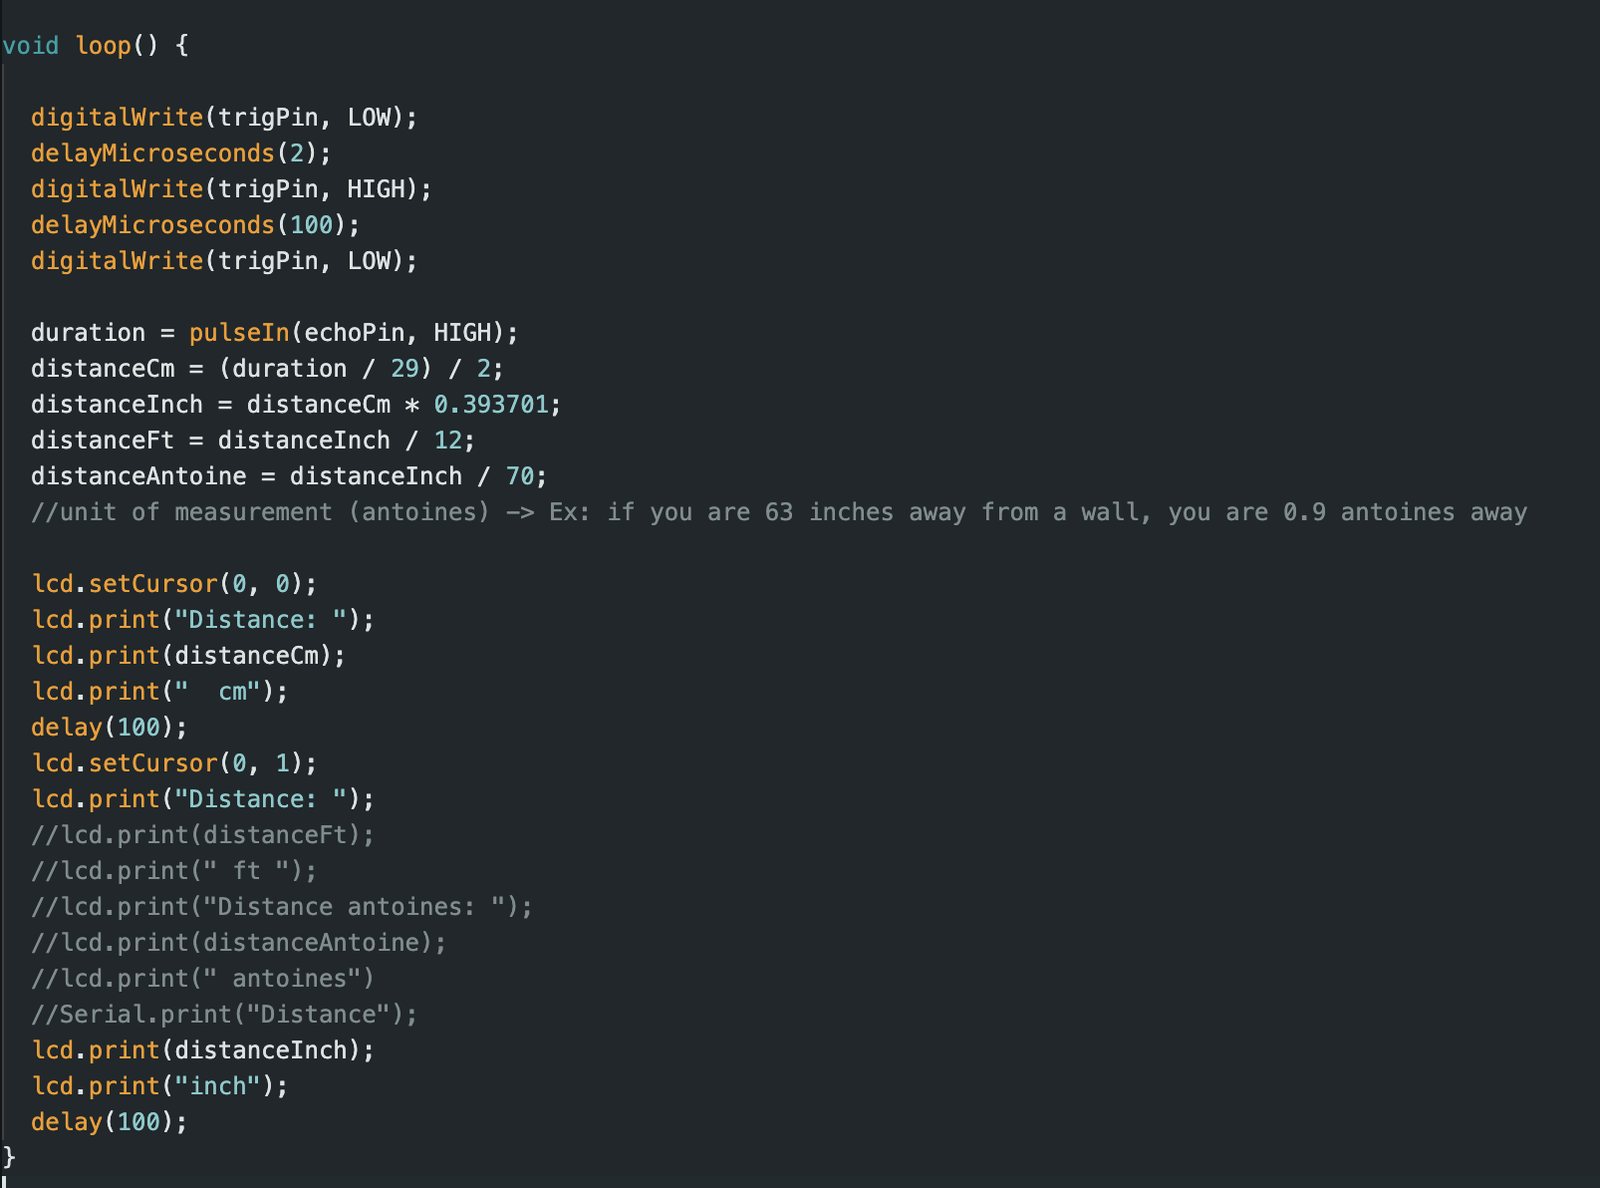
A handheld measuring device built from an Arduino, an ultrasonic sensor, a 16×2 LCD and a battery, on a 3D-printed platform I designed to hold the circuits. The sensor fires a 10 µs pulse and the echo time converts to distance (cm = duration / 58, inches = duration / 148), updated every 100 ms on the LCD.
Arduino Training & Certifications
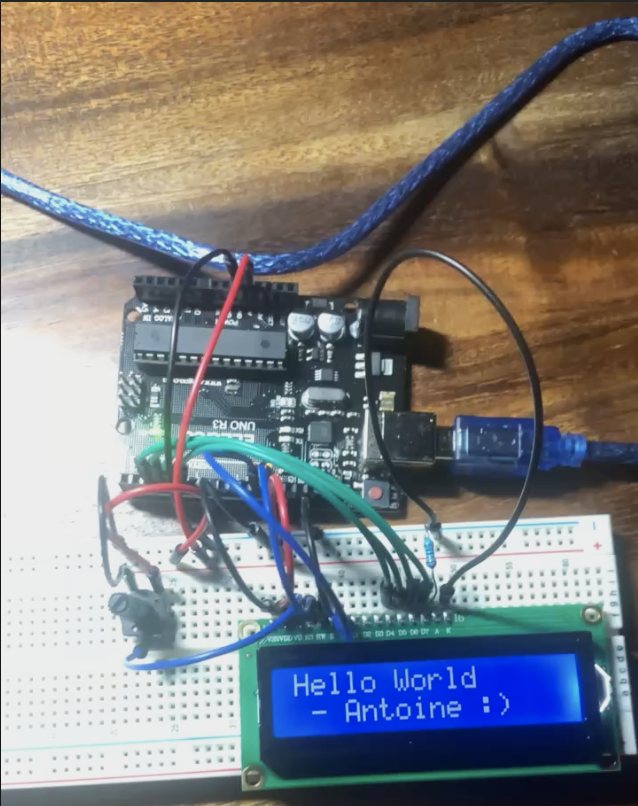
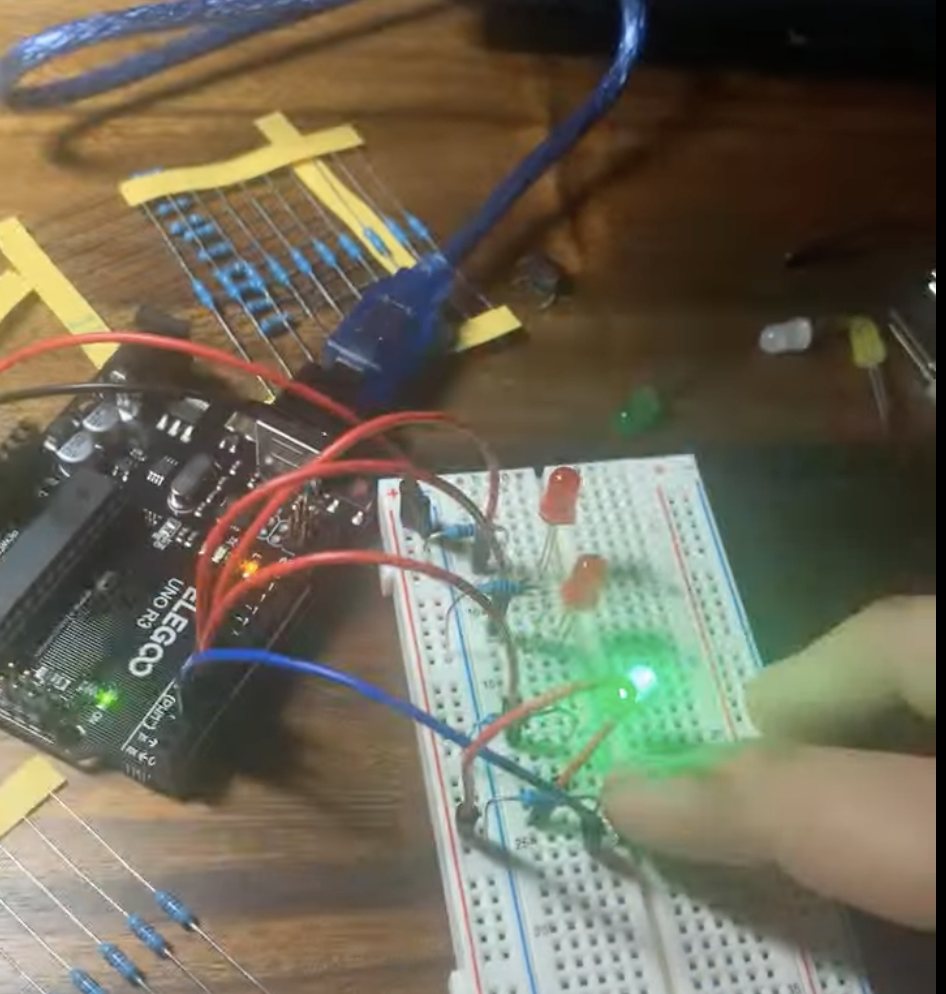
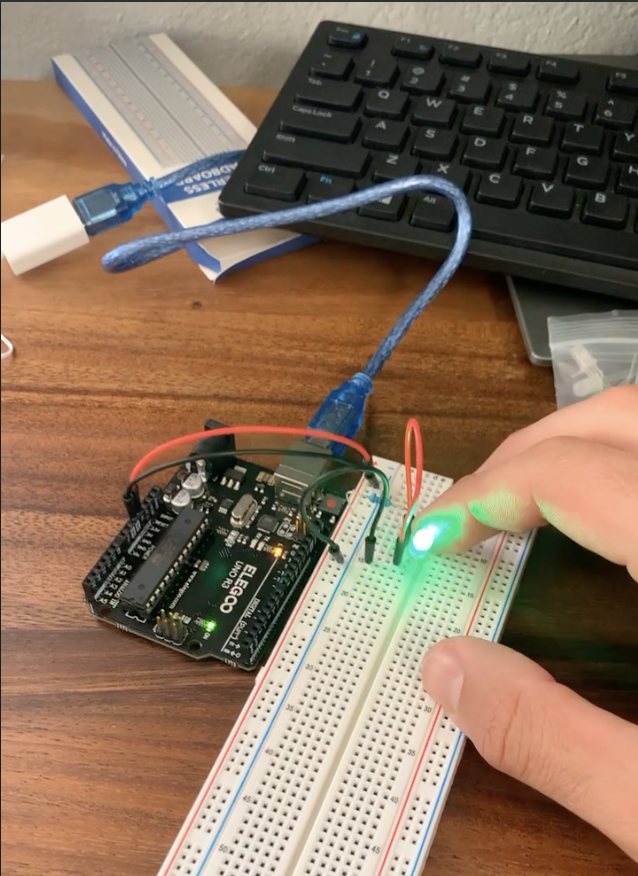
Where it all started: button-controlled LEDs, a “Hello World – Antoine :)” LCD with a potentiometer for contrast, and the basics of volts, current, resistors and switches. Completed the MATLAB, Simulink and Simscape OnRamp certifications along the way.